


Having eCommerce requires having basic skills in product photography, even if you don’t have a professional background in photography. In today’s online world, product photography is an essential element in displaying what your online business offers for consumers.
Without product photography, conversion is nearly impossible, since it is the only link your customers have to know what are you offering.
Product photography isn’t as simple as shooting your products randomly. To produce a quality image, you need to have proper equipment, lighting, and space. A good photo will catch the attention of potential customers, increase buyer interactions, spread brand awareness, and increase customer trust.
It sounds like you need a big budget to get all the equipment and kind of pricey. Believe it or not, you can easily find the cheap one on eCommerce platform. Not only that, to save more on your budget, you can custom or DIY on certain equipment.
Before we dive more into the equipment and tools needed for your product photography, it is important to know the types of product photography for eCommerce. You need to know what kind of image you can use on your product page and across your marketing channels.

The type of eCommerce product photography
Before you decide what gear you should get and starting your photoshoots, you need to know the two main types of product photography if you’re a beginner.
1. Product-only photo
Usually, this type of product photography is taken on a white background to show off your product in the best light. It is to make sure you create a consistent look across your product line.
When place on your product page, this photo should include your featured product in the picture.
It might seem like two or three product shots are more than enough, but it’s best to have a dozen of photos with different angles. Later, you can pick which best photo can place on your product page.
2. In-context or lifestyle photo
In-context or lifestyle photos allow you a lot more creative freedom with your product. You can do the photoshoot anywhere you want, indoor or outdoor, or find a setting that suits your brand’s voice.
This product photography is used to create a visual story, to show how your products are being used or worn. Then your customers can decide if the item meets their needs as they are focusing on just the product.
Normally, these images work best for social media, blog posts, email, and other marketing channels at the top of the conversion funnel. But lately, there is a trend to use them in the product pages, put together with product-only photos on the product page.

Basic product photography equipment you’ll need
Now in your mind, you can imagine what kind of photo suitable for your product. So, here the tools or equipment you’ll need for the product photography.
1. Camera
You don’t need to waste a lot of money on a crazy camera setup. Shooting with a high-end camera that offering many functions and settings is awesome, but it’s also unnecessary.
Although you have a big budget to buy the latest camera model, doing some research and finding tips is a must. You can join a Facebook group, or joining a forum on Reddit, or asking at Quora seeking tips on picking a good camera for product photography.
If all you have is your smartphone, that’s okay too. Nowadays smartphone has a high-end camera features and some models it’s comparable with a professional camera. Even mid-range budget smartphone has offered the best camera features.
2. Tripod
To ensure consistency across your products, you’ll need a tripod. Tripods bring consistency, stability, and focus.
It is easy to end up with blurry images when you try to get your entire product in focus while holding your camera in your hand without moving.
If a tripod is beyond your budget, experiment with using a pile of books or a stool to make a camera stand. However, don’t worry, there is a bunch of cheap tripods under RM20 on Shopee or Lazada.
3. White background
When taking product-only photos, light colour backgrounds are necessary since they simplify the editing process. A white backdrop is ideal when retouching your images.
There are lots of options for a white background and if you’re going to be shooting a lot, you may want to get a white sweep from an online store. Choose white sweep paper rather than white cloth because once dirty you just need to rip it.
Using a sweep can capture a perfect white background with no corners or blemishes. Typically, a sweep takes the form of a large, bendable piece of paper that bends up into a white wall behind your product.
Another option to keep your budget is to buy some poster board or “mahjong paper” at an art store near you. Then, remember to look for pure white as it is a lot easier to doing retouch.
4. Lighting
The quality of on image is affected by the amount of light present. It’s hard to get the lighting right, but when it’s done properly, the result is beautiful and your post-processing will be significantly simplified.
Setting up the lighting for product photography has two options: natural light or studio light.
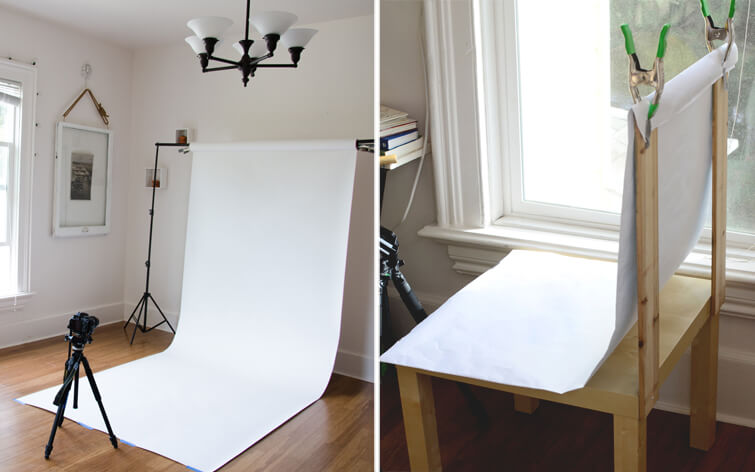
- Natural light
If you have a tight budget you can go for natural light. For small-scale in-house products, it’s much easier to handle and you’ll get plenty more done in less time. Just place your shooting table near the window that allows lots of light into the room.
Place a cloth or white paper over the window if the light is too harsh. If you got a harsh shadow, there is a trick where use white foam board or cardboard around the object to help reflect some light and soften it. To get the most light, shoot at the brightest time of the day.
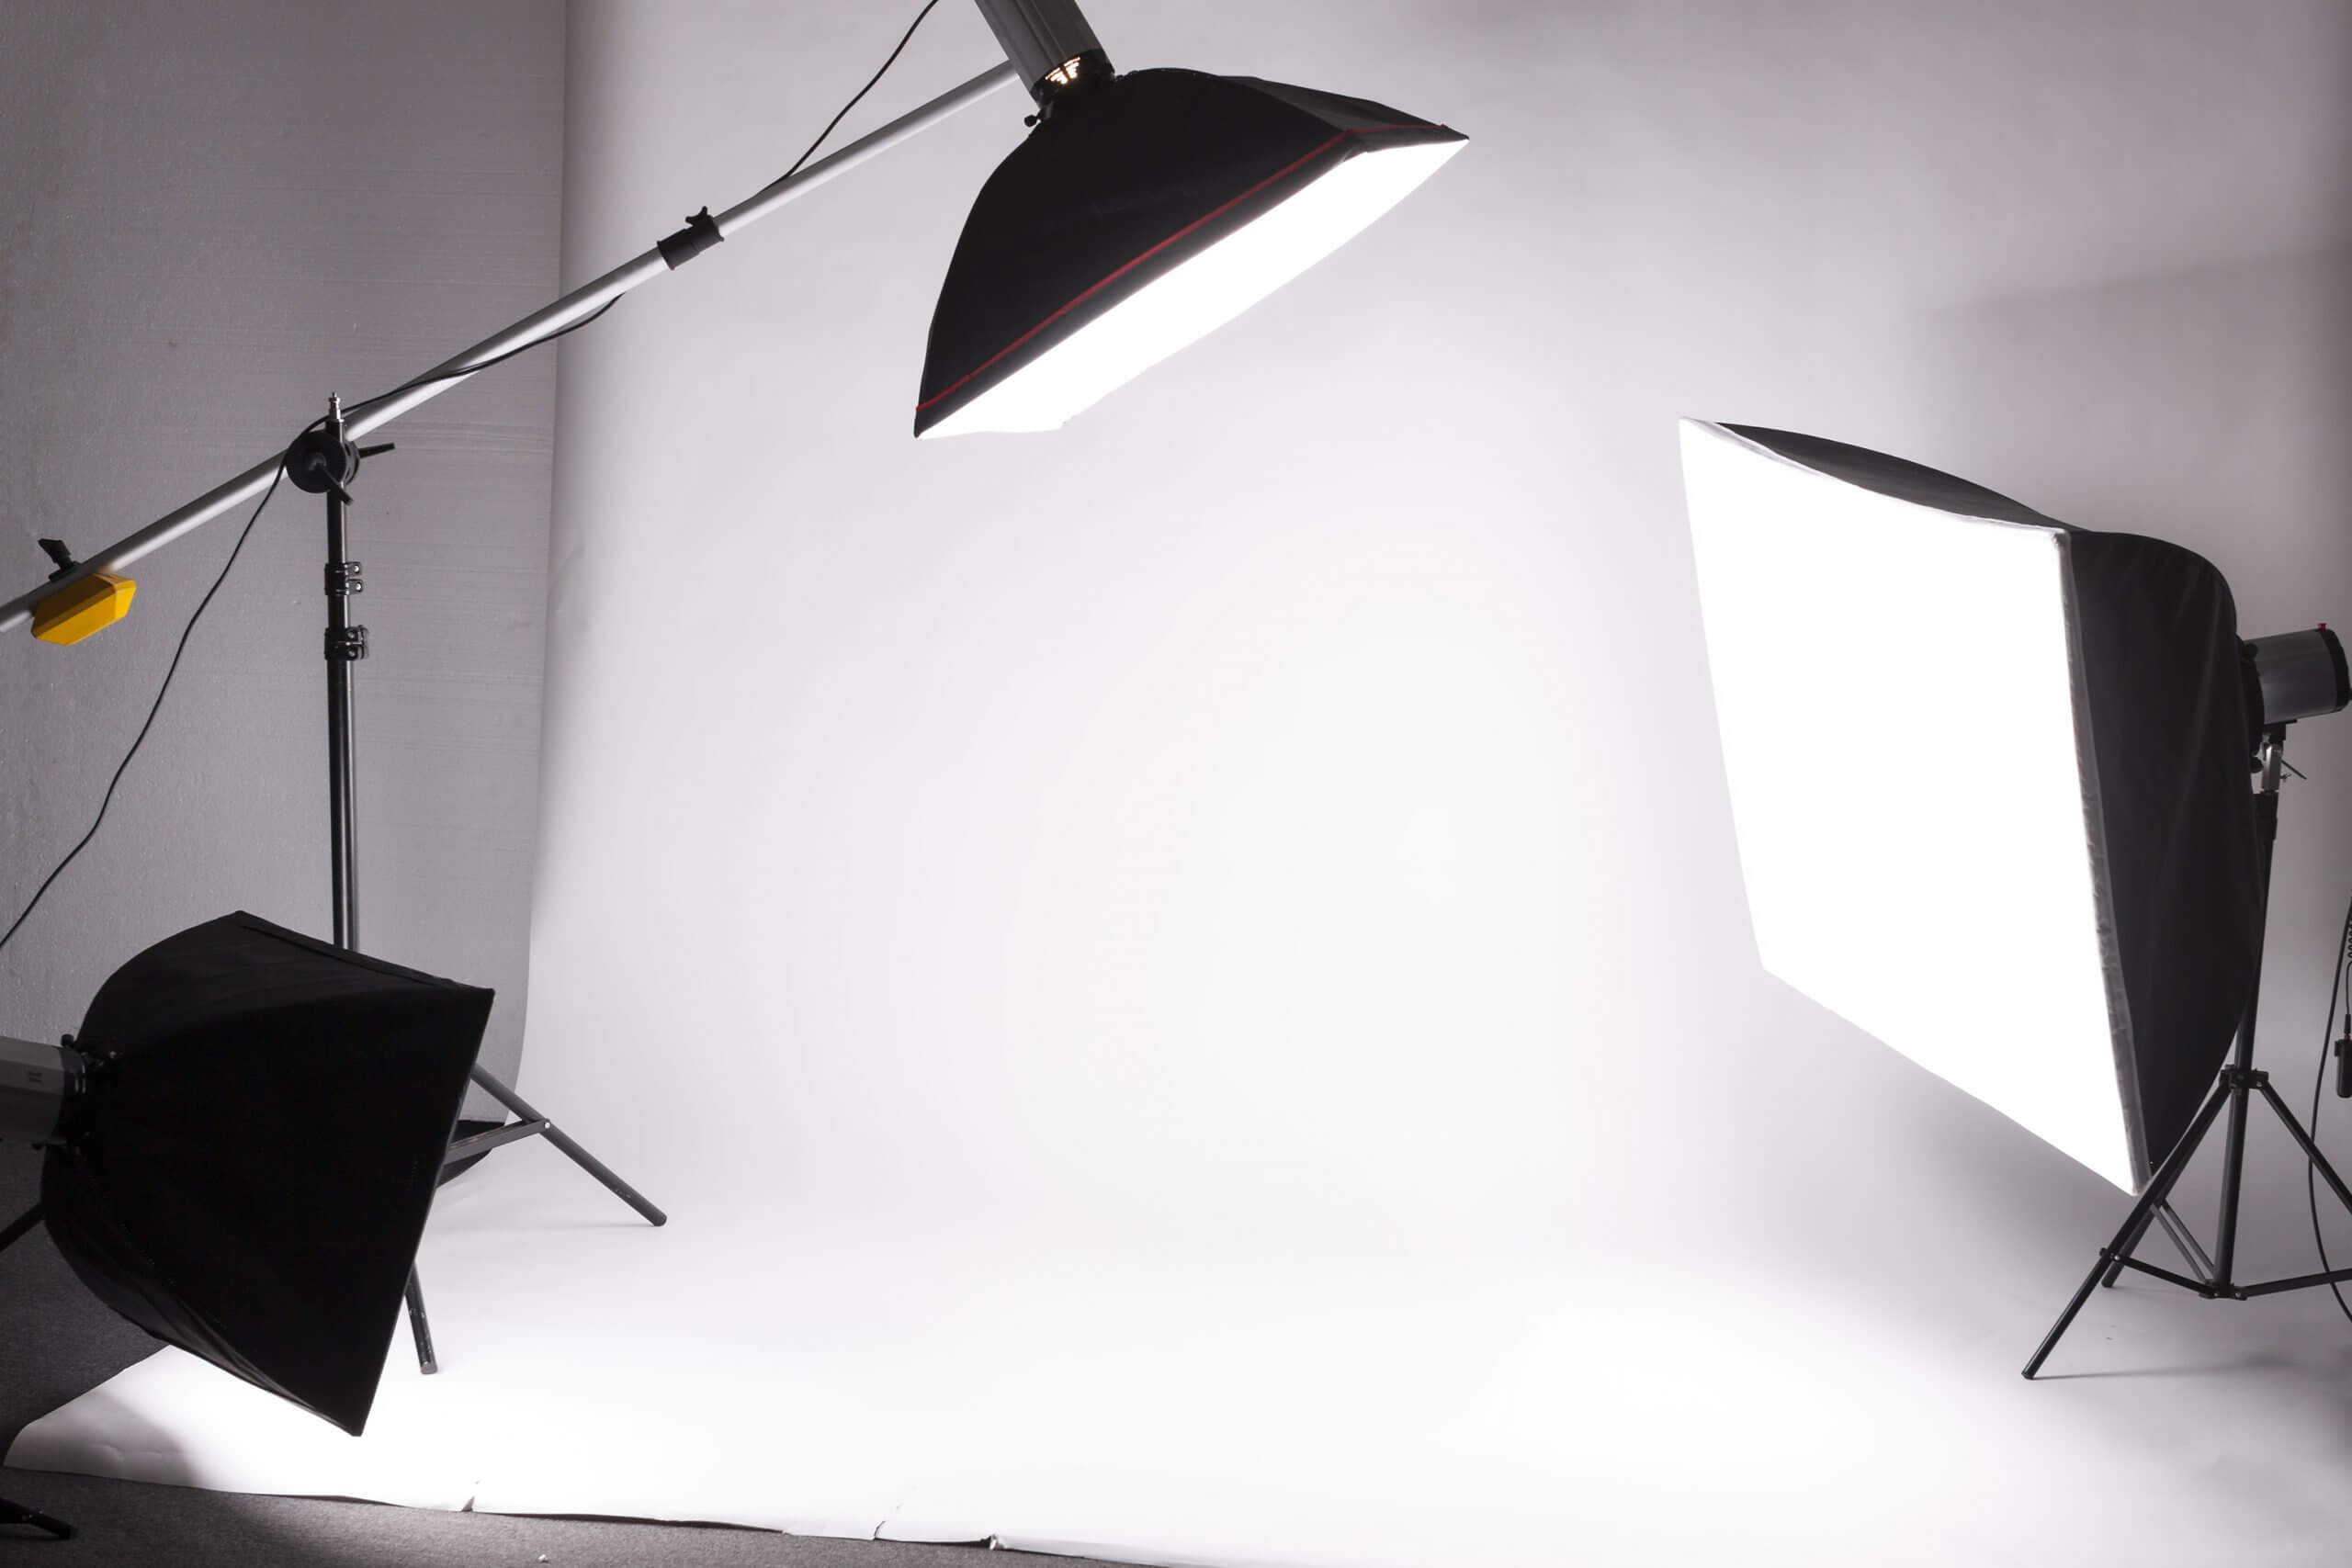
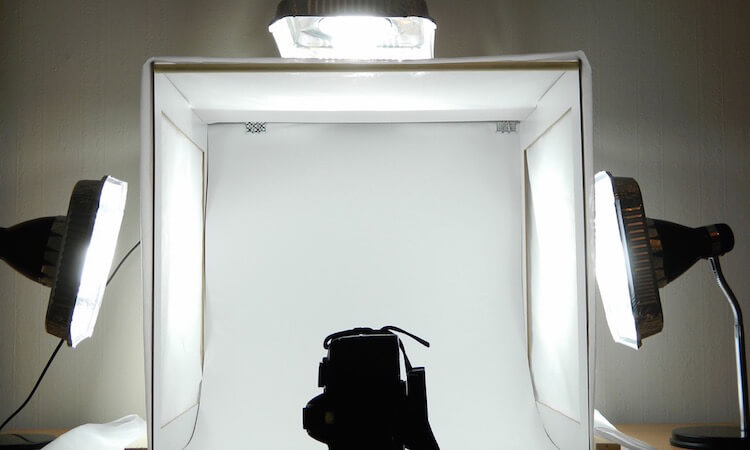
- Studio light
For those who have more budget, you might be able to use this option. Studio lighting offers more control over your entire shoot, especially if you plan to shoot multiple products over several hours.
You also might be able to get the softbox’s light setup. Using a softbox can control the shape and direction of light and prevent more light from occurring. The rectangular shape of the softbox has the advantage of being able to produce natural-looking light by mimicking the shape of a window.
Get two softboxes if you can. One of the lights should serve as your key light, and the other as your fill light or backlight, depending on your desired results.
If you still want to do product photography with studio light but don’t have enough budget to buy a softbox, there is still another way. Just need creativity and DIY your very own softbox.
5. Table
For the table, there is no specific table size you need. Use any table you have, but make sure it big enough to place your product items.
6. Editing software
So, editing software is the last part of the equipment you need for product photography. For this part, you need to have basic skills in editing and need to do many experiments on your selected images.
But, don’t you worry because there is a bunch of editing software that free and easy to use for beginners. If you don’t have a computer or laptop, a lot of editing apps have offered for smartphones. Plus, most of them are free to use.

If you interest in making an e-commerce website, just email me to [email protected] and I’ll get back to you to discuss. You also can look and play around with our e-commerce demo.


0 Comments